

One of the coolest features that cupixel has is the ability to project, or superimpose, an outline of your choice onto almost any surface (paper, canvas, wood, cookies — really, almost anything) so that you can follow along and trace it. You then can turn that outline into art.
This technology is part of the secret sauce that makes the app so powerful.
What is even more amazing is that you can actually project the full photo, not just the outline, onto the paper or canvas (or whatever material you are creating on) so that you can see the colors, the shadows, and all the other little details that make a picture come to life.
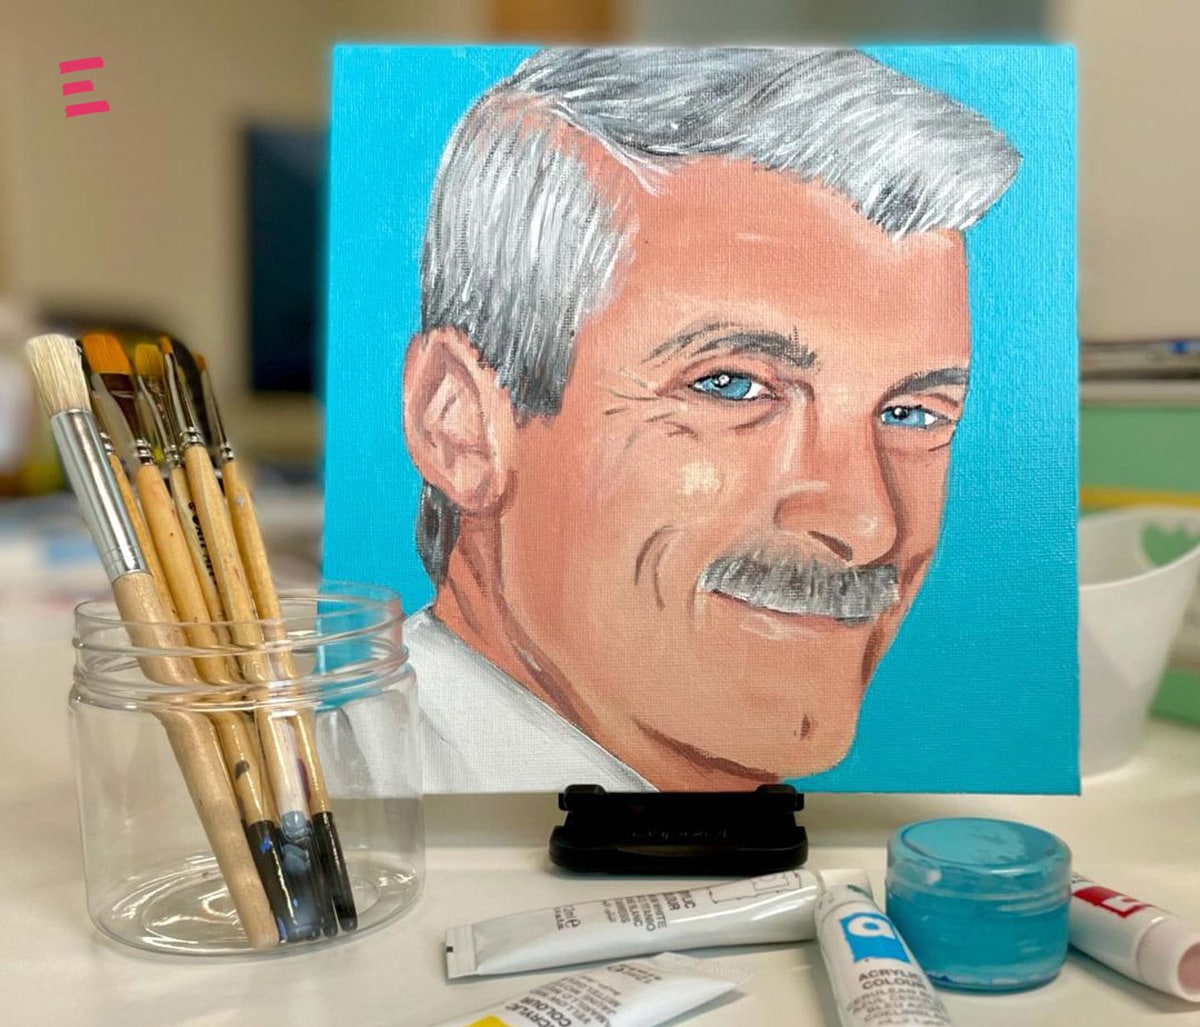
What this means is that when you are drawing or painting a personal photo using cupixel, you can color match to make sure that what you are creating is as close as possible to the real thing.
It means that when you aren’t quite sure what a line is on the outline, projecting the actual photo you can tell that it is a shadow, or a bit of loose hair, or whatever else it might be.
It means that you can make your art even more realistic.
So what are you waiting for? Learn how to project your photos when creating with cupixel, and get started making art!
- Select and convert the photo that you want to draw or paint.
We know, this part isn’t mindblowing, but it is a crucial part of the process. As you know, the app will automatically create an outline. Convert the outline as usual, adjusting the width, contours, shadow, and detail as you normally would (read more about how to convert your personal photos). You won’t see your full image yet — that comes during the actually creation part of the process.

- Go to the “Trace” tab
After your photo has converted, go to the “Trace” tab and project your photo onto your drawing or painting surface. The outline will be the first thing that appears on your surface, as long as all four corners of your surface are viewable through your phone.

- Use the “Layers” feature to project your photo
Here is where it gets really cool. All you need to do to project the entire photo is to tap the “Layers” button on the bottom right of your screen, and voila! The full photo appears!

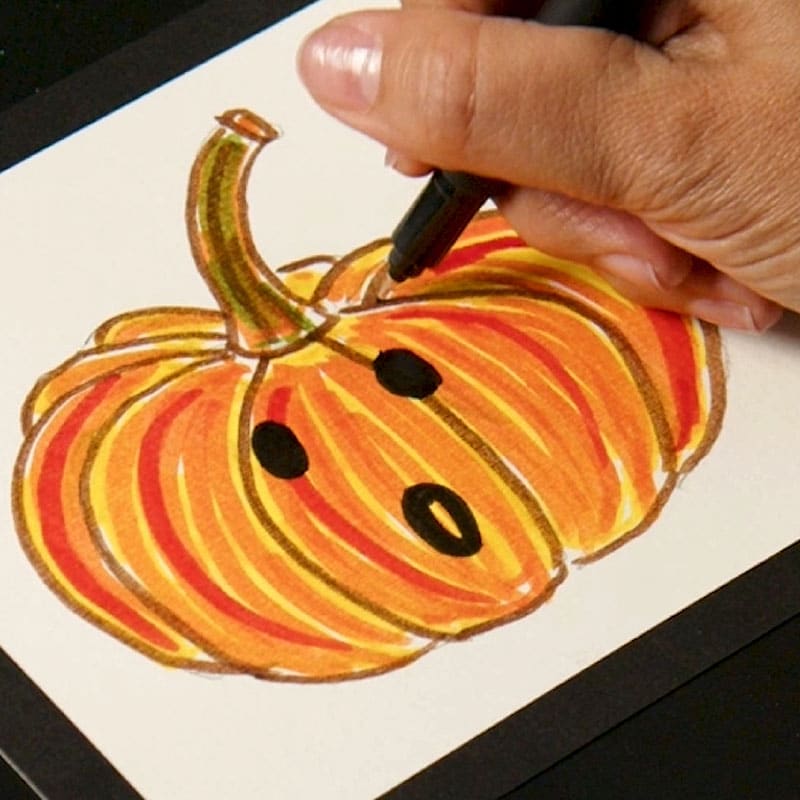
- Create art!
To start creating you have two options, you can either trace the outline and then change the image you are seeing through your phone to the full image, or you can trace from the full image itself! If you are doing that, we just recommend that you make sure that your transparency bar is low enough to enure that the image is transparent so that you can see what you are doing on the paper.
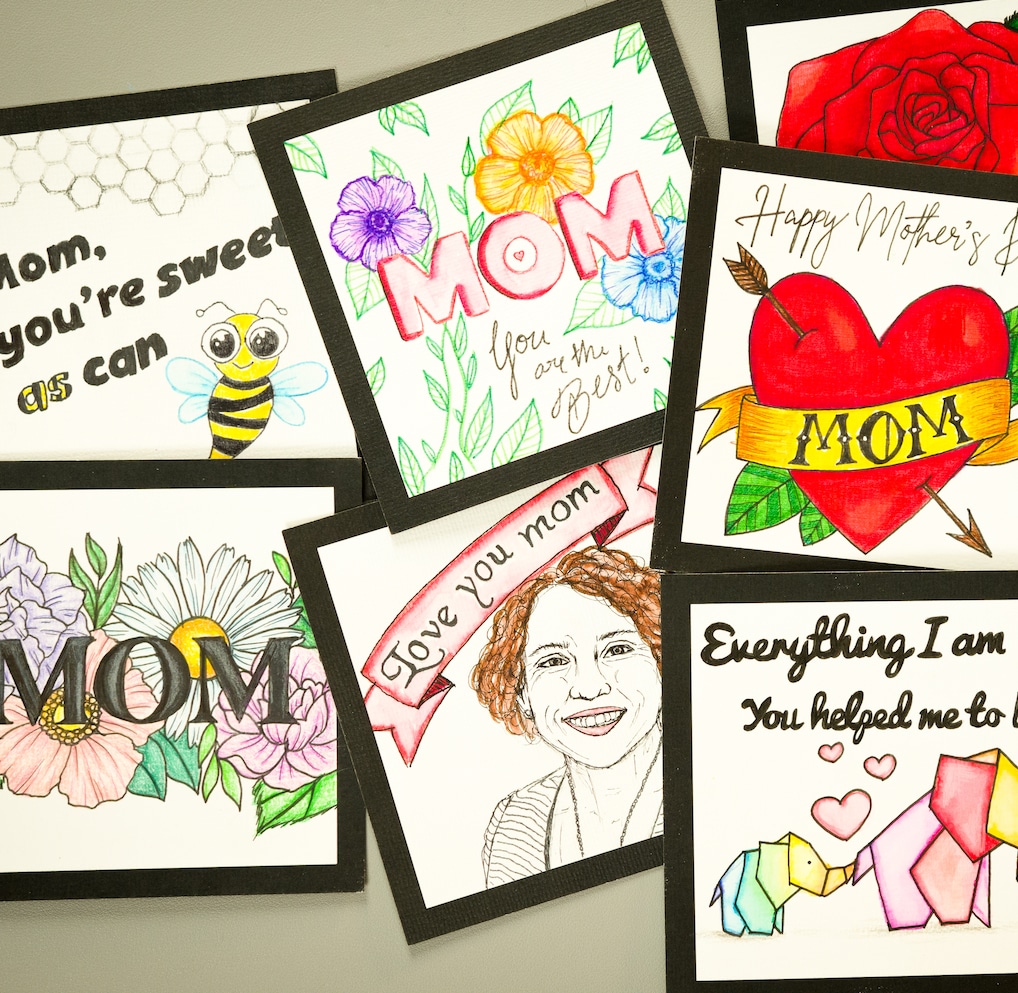
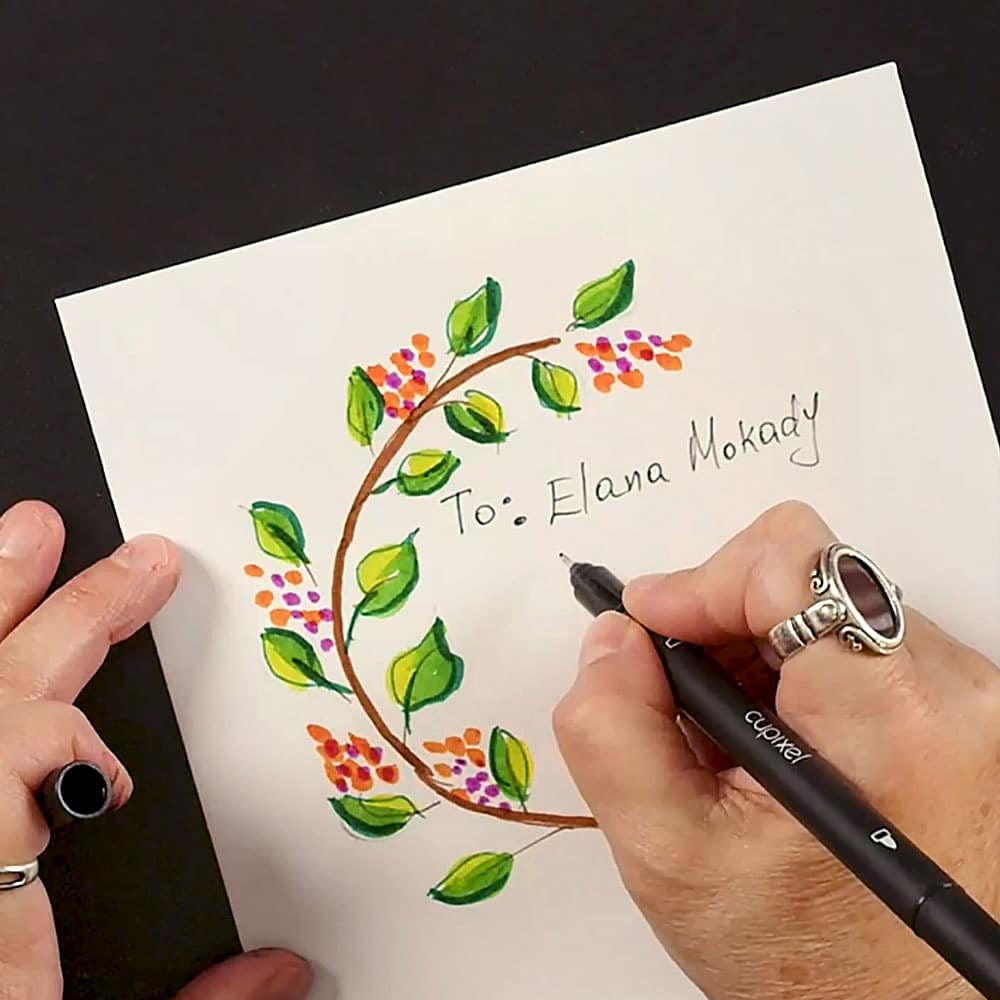
And that is about it! The best part is that you can complete this process with any personal photo. Portraits, landscapes, pet portraits — you name it!

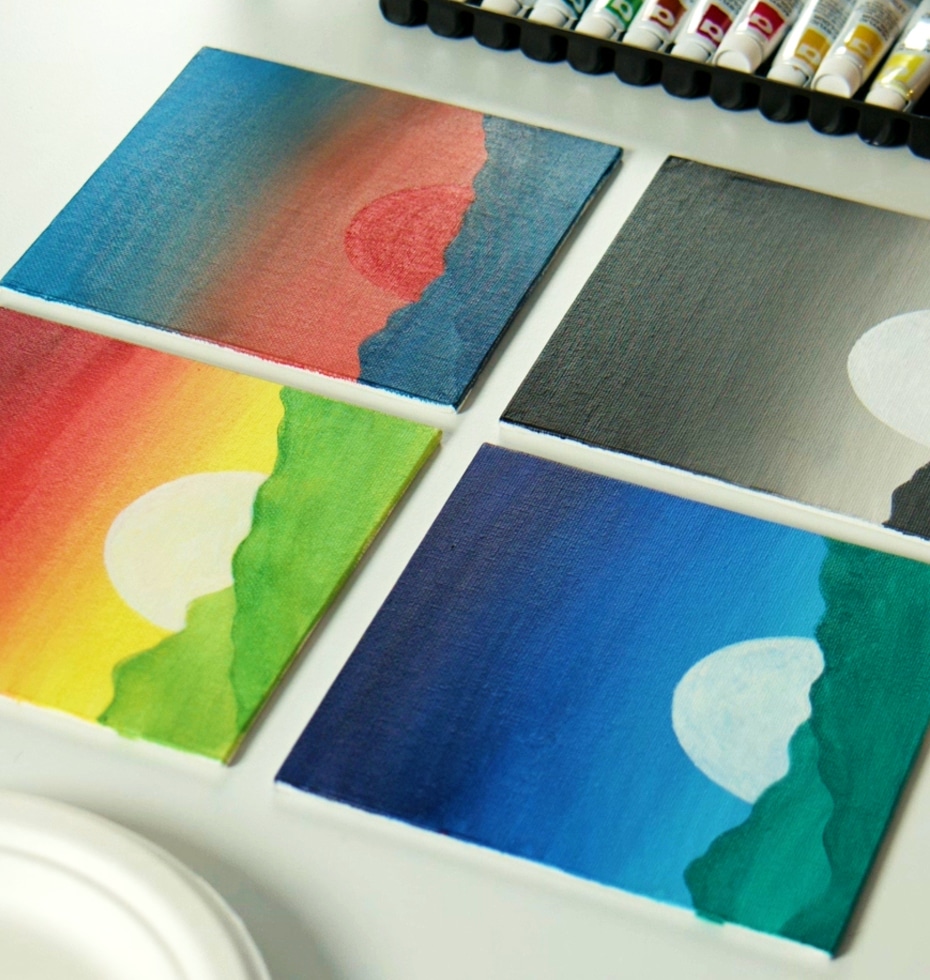
Sunset in Newport
Have you ever seen something so beautiful that you wished you could paint it? In this experience, we walk you through using the “layers” feature to help you transform a photo into a painting. Follow along or turn one of your personal photos into a scenic work of art!
Experience type: Smart trace-powered painting
Time: 1 hour 7 minutes
Materials:
- Square surface for painting (canvas works great, but printer paper will do the trick, also!)
- Pencil
- Paint (acrylic if you have them!)
- Paint brushes
- Cup of water