
Some of us still send the traditional Holiday cards this time of year. Personally, I enjoy the time I spend writing a short note to my old friends and the relaxation of decorating the envelopes to make it a treat even before they open the card.
Here is a simple tutorial that will help you transform a plain square envelope into a Holiday masterpiece. Let’s channel our inner Martha Stewart, shall we?
Winter Floral Envelope Decoration
Materials Needed:
- Square envelope
- A single-use cup – or any cup with a large circumference
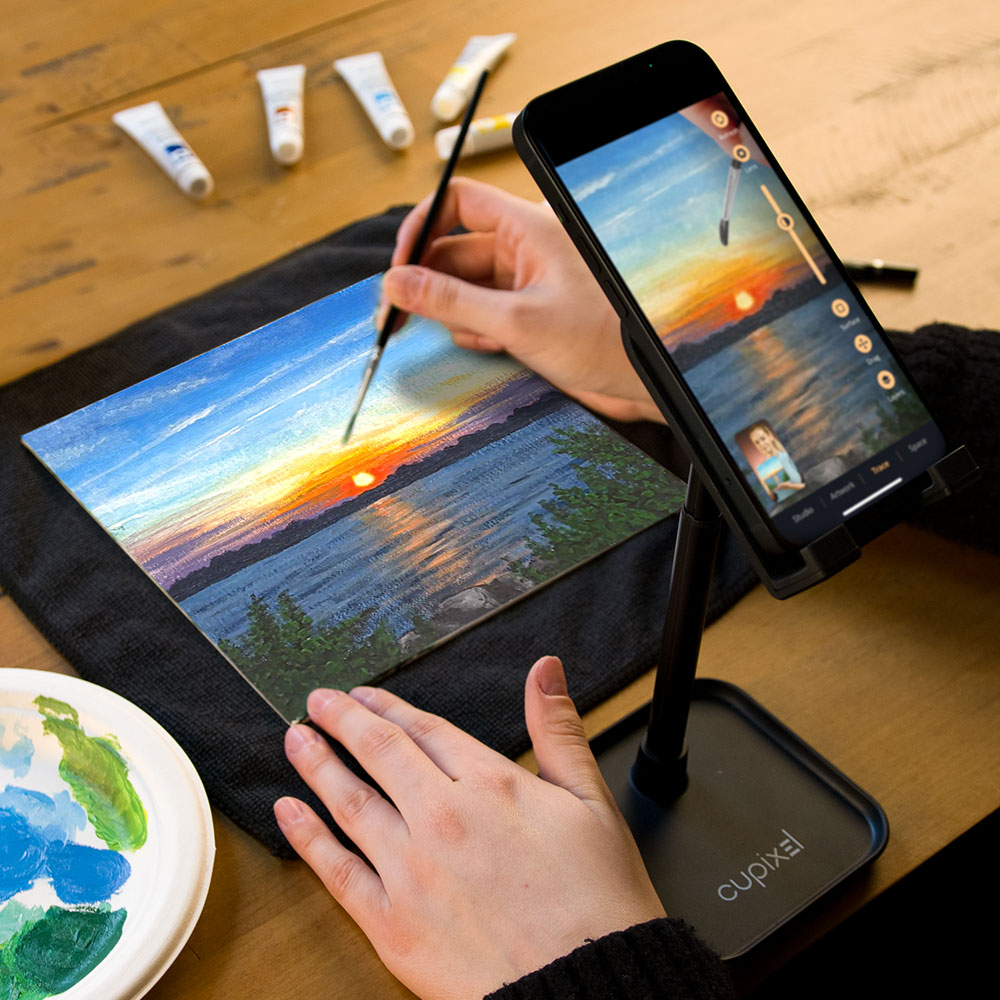
- The Cupixel device stand for optimal results
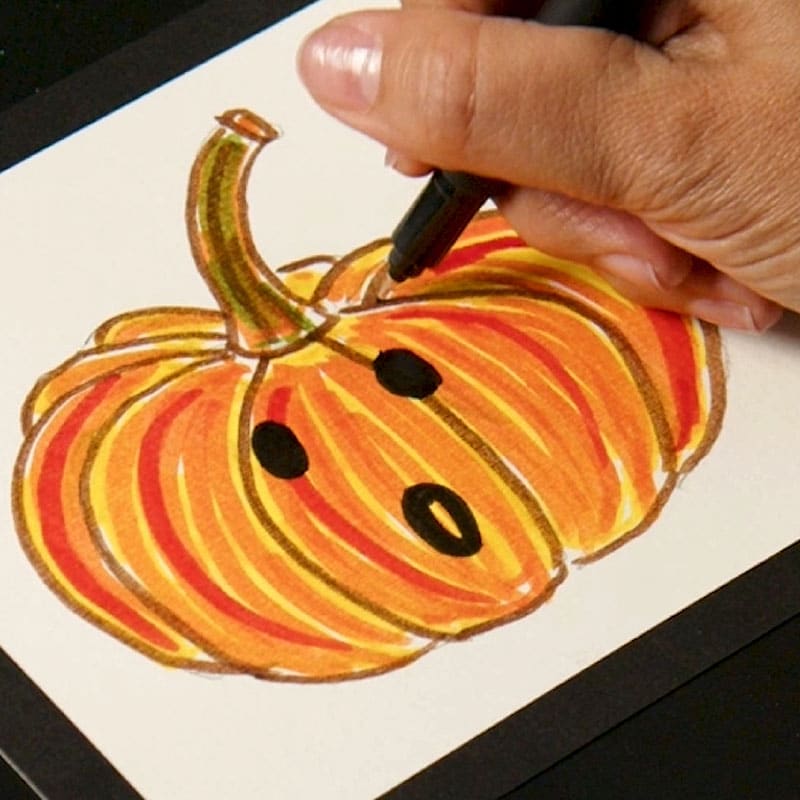
- Watercolor markers (brown, dark green, yellow, red)
- Eraser
- Small round paint brush
Step 1: The circle
Start by placing the cup in the center of your envelope, leaving enough space for the address. Trace the circle Or, if you are planning to mail the card, position the circles to the far left of the envelope
Step 2: Branches
Imagine the circle as a beautiful, curved branch. Now add smaller branches facing towards the center- you can make then straight or slightly curved. Add as many or as few as you like
Step 3: Leaves
Add leaves in various shapes and sizes: round, elliptical or simple lines. Add color and life to your leaves by using the brown watercolor marker to trace the branches and dark green for the leaves

Step 4: Adding depth
Color one part of the leaves with green and the other with yellow, creating cheerful, vibrant foliage. Blend the colors together lightly where they intersect.
Step 5: Berries and accents
Dot the design with red berries – make them random; consider blending in a little yellow to create orange accents for an extra pop of color
Step 5: Final touches
Enhance the center of the circle branch with brown to make it even more visible and add a some dark green to the bottom of the leaves for added depth
Doing this custom artwork can make a big impact on your recipient. They will appreciate the thought and effort you put in to help make their special day even more special.